Apple hides files for a reason. mainly to prevent accidental changes or deletions. Sometimes you need to see these files or access the hidden /Library folder to fix your Mac.
We recommend that you do not delete these hidden files unless you really know what you are doing!
Hidden files include.htaccess,.bash_profile, and.svn. Hidden are /usr, /bin, and /etc. Finally, the Library folder hides data and application support files.
How to Access Your Hidden Files in Macos?
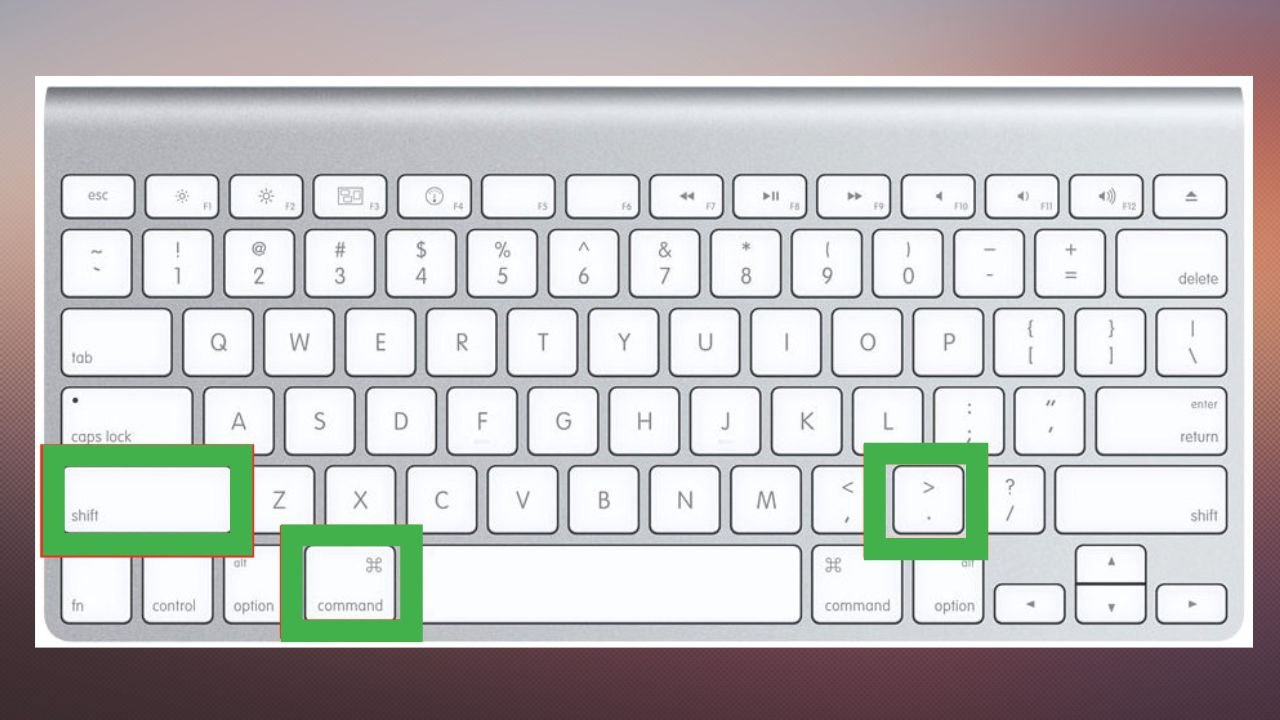
- To find hidden files in a folder quickly and easily, open Finder and simultaneously press [cmd], [shift],+[Dot]
- To disable the display of hidden folders, press Cmd + Shift + again.
Where is the Library Folder?
Many hidden files are in the hidden Library folder. To complicate matters, there are many library folders, some of which are hidden. Find every library folder, including /Library.
Since Apple has made several Finder modifications in recent years, some instructions may refer to objects that no longer exist, adding to the confusion.
The Home folder has a Home icon and your name. Users contain it. MacOS hides both. The Macintosh hard disc, which you named, is also hidden by default. We’ll show you!
How to Show Hidden Files on Mac Monterey
The easiest way to see hidden folders and files on a Mac Monterey is to use hotkeys. If you press the Command, Shift, and Period keys at the same time, the hidden folders and files will be shown.
- Open the Macintosh HD or the folder where you want the files to show up in the Finder.
- Use the combination of the Command, Shift, and period keys: [cmd], [shift],+[Dot]
- On a Mac, folders and files that are hidden look a little bit transparent.
- Using the same key combination hides the files again.

See Files on Mac Using Command Terminal
Terminal isn’t just for hiding or showing hidden files on a Mac. You can also use Terminal to hide specific files, for example, so that other people who use your computer can’t see them. To do this, follow these steps:
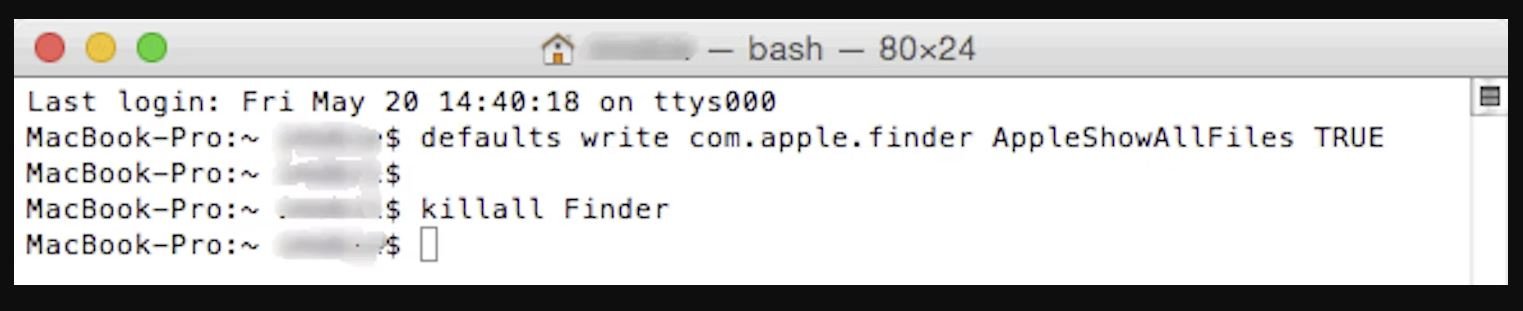
- Launch Terminal
Use the defaults command: write com.apple.Finder AppleShowAllFiles TRUE
- [Press Return] killall Finder
- To hide again files, change the “true” in the preceding step to “false.”
How to Hide Files on Mac Monterey
- Launch Terminal
Use the following command: chflags hidden
- Drag files or folders to be hidden from Finder into the Terminal window, and their paths will be displayed in Terminal.
- Now Press Return and your folder will be hidden.

- To unhide it, return to the terminal and type the same two keywords, but instead of hidden, type nohidden without a space.
Use the following command: chflags nohidden
- After that, drag and drop the hidden folder again and [Press Return] to make it permanently visible.
Prevent Accessing Hidden Files on Mac Monterey
You might be thinking that if someone knows this keyboard shortcut for viewing hidden files, this method is useless.
- Simply navigate to System Preferences and select Keyboard.

- Then select Shortcuts. And then, from the left sidebar, select mission control.

- There are two shortcuts that do not have keys assigned, one for Show Notification Centre and the other for Turn Do Not Disturb On/Off.

- Assign Command, Shift, and period keys: [cmd], [shift],+[Dot]
- Then check the box to enable this shortcut.
If someone attempts to use this command to view hidden files, it will fail and display “DND” or “notification” instead.
And if you want to see hidden files, just go back to system preferences and uncheck the box. This will put the command back to the way it was before and show hidden files.