Windows 11 includes an antivirus program called Windows Security by default. It is not an antivirus or antimalware program. Instead, it is a place to find information about how to keep your Windows 11 computer safe. You can set up and turn on different features based on your needs or priorities, but what if you want to go back to Windows 11? the official/default Windows security settings.
When we install and turn on Microsoft Defender on our computer, it gathers information about the device’s status and potential threats and sends it to Microsoft. Then, we can do things like turn on more security features and use Microsoft Defender to run security scans.
If we customize the Windows Security application, things will begin to behave differently than when the app was configured by default. Furthermore, the settings we choose in Windows Security can cause errors and problems.
In these situations, putting all of the settings for the Windows Security app back to their default state in Windows 11 can be a big help. This is possible in Windows 11 because the Windows Security app includes a Reset button that allows you to restore the app to its original state.

In this tutorial, we will go over several methods for resetting the Windows Security app and restoring all of your settings to their default values:
How to reset Windows Security via Windows 11 settings
- Open the Windows 11 Settings app.
- Go to the Applications tab and next line click on Applications and Features.
- In the list of apps locate: Windows Security.
- Click on the three vertical dots icon on the right side.
- In the menu, select your opinion: Advanced Options.
- You will be sent to a new screen where you have to scroll to the bottom of the mass until you locate the section: Reset.
- Here you will see the button you need to click: Reset.
- A small window will appear in which you must confirm the action by clicking on: Reset.

How to reset Windows security using PowerShell
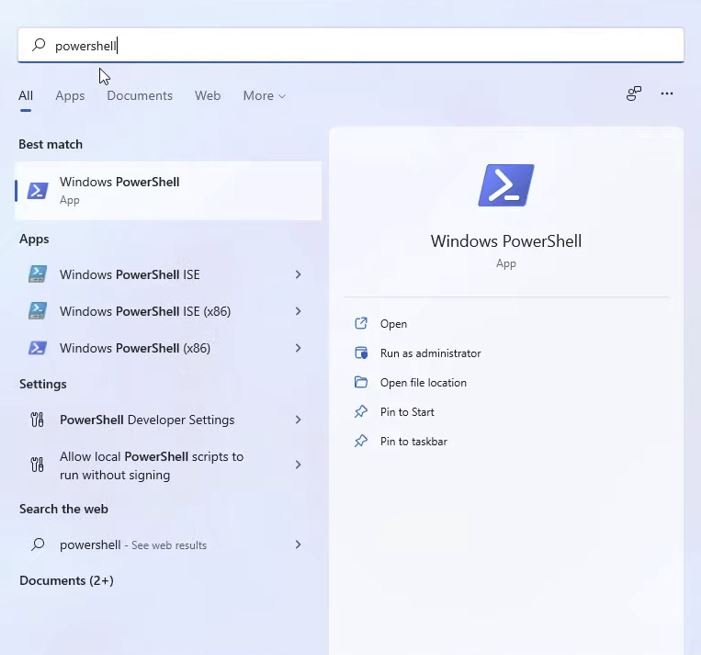
- Access PowerShell as Windows 11 administrator.
- Once inside PowerShell, paste the following command:
Get-AppxPackage Microsoft.SecHealthUI -AllUsers | Reset-AppxPackage
- After pasting the command into PowerShell you will have to execute it by pressing the Enter key.

- Once the process is complete, the settings and data of the Windows Security app will return to the default values.
Restart the Security Center Service again
The Security Center Service starts with Windows. If that service hasn’t started properly or is off, you may have trouble accessing Windows Security.
- Press Windows+R to open Run. Enter services.msc.
- Your PC’s services are alphabetized in the Services window. Security Center is down. Restart it by right-clicking.
- Check Windows Security afterward.

Uninstall Third-party Antivirus Program
Windows 11 doesn’t allow running two antivirus programs at once. To avoid conflicts, remove any third-party antivirus programs from your PC.
- Press Win+I to open Windows Settings.
- Go to Apps > Apps & features.
- Choose the Program or App to uninstall from the list that appears.
- Uninstall the selected programme or app by clicking the uninstall button.
- To complete the uninstall, follow the on-screen instructions.

Update Windows 11
Any OS needs updates. These updates include bug fixes, new features, and security patches. Check if downloading and installing updates fixes the problem.
- Settings > Update & Security > Windows Update.
- Check for updates.
- Install and Restart now.