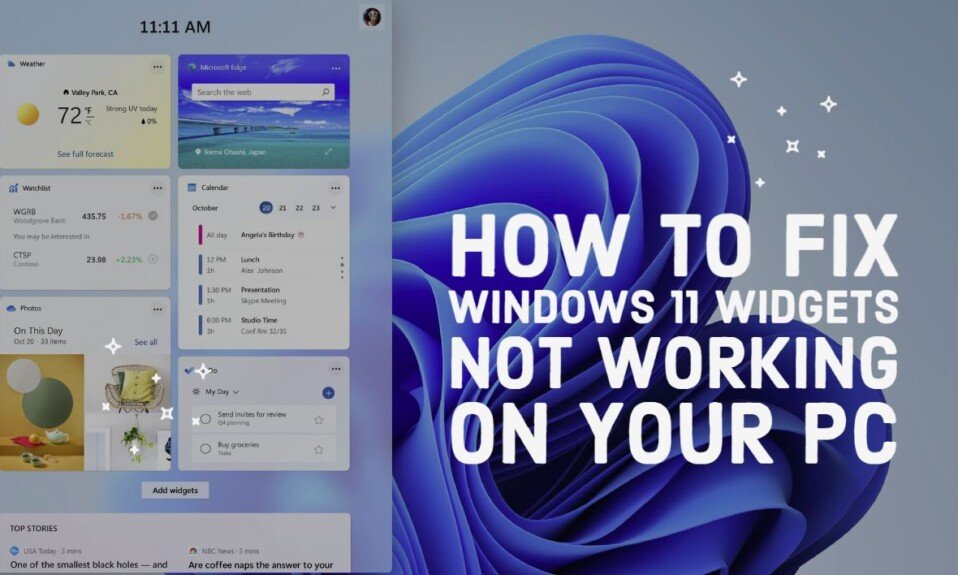
In Windows 11, a new widget function has been added to check the latest information, such as weather and news, without opening the app.
The widget feature is enabled by default and can be viewed by clicking the widget button on the taskbar. However, depending on the environment, the widget button may not be displayed, or the content may not be displayed even if the widget is opened.
In this article, we will explain what to do when the widget is not displayed / blank in Windows 11. Check out how to fix Windows 11 widgets not working on your PC.
Method 1: Enable the widget function on the Taskbar
It is possible that the widget does not display properly, or the widget buttons do not appear on the Taskbar due to a problem with the widget function of Windows.
So, open your personal settings and try enabling the widget feature on your Taskbar. Also, even if it is already enabled, it may normally work by switching it to disabled and then turning it back on.
Follow the procedure below to enable/disable the widget function on the Taskbar.
- Click “Windows Mark” and select “Settings“.
- Click Personalize in the left pane.
- In the right pane, click Taskbar.
- Click the switch to the right of “Widgets” to change it to “On“.
- If it is already “On“, switch it back to “Off” and then back to “On“.

With the above procedure, you can enable/disable the widget function on the Taskbar. After enabling the feature, check if the widget is displayed normally.
Method 2: Re-sign into your account in the widget settings
There may be cases where the widget information is not displayed properly due to a problem signing in to the widget’s account.
Therefore, signing out of your account in the widget settings and then signing in again may resolve the issue. Here are the specific steps to re-sign into your account:
- Click the “Widget Button” on the Taskbar to open the widget.
- Click the “Account Icon” at the top right of the widget.
- Click Sign Out below your email address in the upper right to sign out.
- Click the Sign In button and enter your Microsoft account to sign in again.
If you can sign in to your account again, ensure the widget information is displayed properly.
Method 3: Sign in with your Microsoft account
It is possible that the widget does not work properly and is not displayed because you are signed in to Windows 11 with a local account.
So, if you’re signed in with your local account, try signing in again with your Microsoft account.
Follow the steps below to switch your local account to your Microsoft account.
- Click “Windows Mark” and select “Settings“.
- Click Account in the left pane.
- Tap User Information in the right pane.
- Click Sign in with your Microsoft account.
- Follow the instructions and enter your Microsoft account information to sign in.
- If you don’t have a Microsoft account, create one before signing in.
After signing in with your Microsoft account, open the widget and see if the information is displayed properly.
Method 4: Restart the display adapter
In some cases, the widget may be blank, and no information may be displayed due to a temporary problem with the display adapter.
So try restarting your display adapter to see if the problem goes away. To restart the display adapter, follow the steps below.
- Right-click on Windows Mark and select Device Manager.
- Double-click the Display Adapter tree when the Device Manager window expand it.
- Right-click, “Display Adapter Name“, displayed under “Display Adapter“, and select “Disable Device“.
- Select “Yes” when the confirmation message is displayed.
- After performing the above operation, the screen will go black. It will automatically return to its original state after a certain period, so please wait until the screen returns.
Right-click Display Adapter Name again and select Enable Device.
After restarting the display adapter, click the “Widgets” button on the Taskbar to see if the widgets display properly.
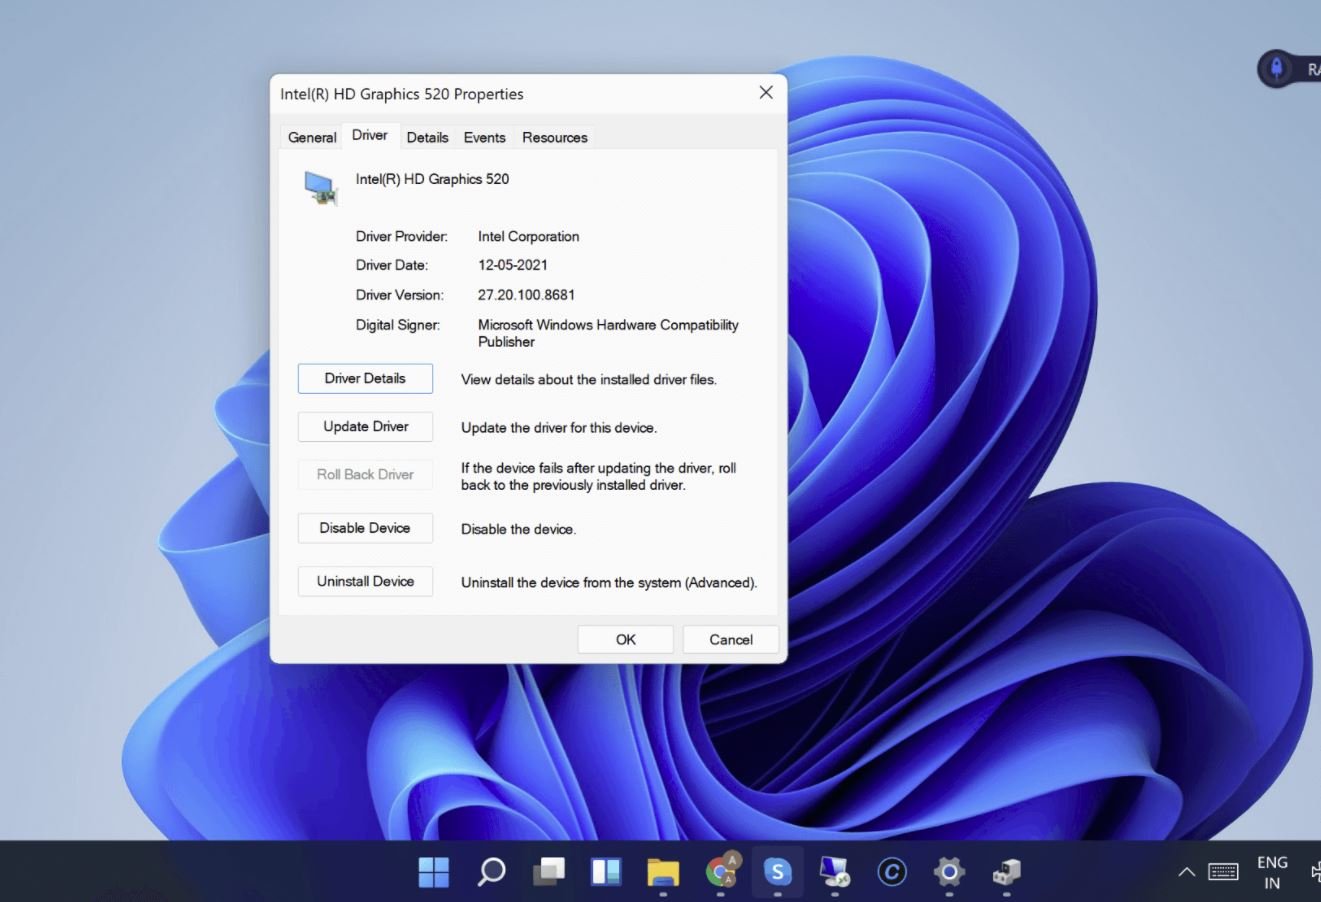
Method 5: Reinstall the graphics driver
It is possible that the widget information is not displayed due to a problem with the graphics driver.
Therefore, uninstalling the graphics driver once and installing the latest version may solve the problem. Follow the steps below to reinstall the graphics driver.
- Right-click on Windows Mark and select Device Manager.
- Expand the Display Adapter tree.
- Right-click on “Graphic Driver Name” and select “Uninstall Device“.
- When the confirmation dialog is displayed, click “Uninstall“.
- After uninstalling the driver, go to the graphics board manufacturer’s driver download page.
reference:
- Search by the model number of the graphic board you are using and download the latest version of the driver file.
- If you cannot find the graphics driver, just restart your PC.
- Double-click the downloaded file to extract it, and then double-click the executable file in the folder.
- Follow the installation wizard to install the graphics driver.
- For NVIDIA, select “Custom Install“-> “Clean Install” in the installation options.
- After the driver installation is complete, restart your PC.
After reinstalling the graphics driver, open the widget and see if the information is displayed properly.
Method 6: Set your default browser to Microsoft Edge
The functionality of the widgets in Windows 11 works in tandem with the “Topics of Interest” setting in Microsoft Edge.
Therefore, if you set a browser other than Microsoft Edge as the default browser, some functions of the widget may not be available.
To resolve this issue, set Microsoft Edge as your default browser by following these steps:
- Click “Windows Mark” and select “Settings“.
- Click “Apps” in the left pane.
- Click Default App in the right pane.
- From the list of default apps, find and click “Currently set browser (such as Google Chrome)“.
- Click the icon that appears below the .htm text, select Microsoft Edge, and click OK.
- Click the icon that appears below the .html text, select Microsoft Edge, and click OK.
With the above steps, you can change your default browser to Microsoft Edge. After changing the settings, check if the widget that was not displayed works properly.
NOTE: If the above settings don’t work, you can fix the default browser by scrolling down the Default apps screen and running Reset all default apps. However, please note that resetting will return the settings of apps other than the browser to the default settings.
Method 7: Check your internet connection
It is possible that the widget information is not displayed properly due to a problem with your PC’s internet connection.
Therefore, start a browser etc. and check if you can connect to the Internet normally.
If you’re having trouble connecting to the Internet, restart your PC or router to see if the problem goes away.
Method 8: Allow widgets in Group Policy
If your edition of Windows 11 is Windows 11 Pro or Windows 11 Enterprise, it is possible that the widget feature is disabled by Local Group Policy.
Therefore, open the Group Policy Editor and check if you are allowed to use the widget. Note that for Windows 11 Home, you don’t need to try this workaround because you can’t use the Local Group Policy Editor.
To review and change the widget’s Local Group Policy, follow these steps:
- Right-click on Windows Mark and select Run.
- Enter gpedit.msc in the name field and click OK.
- When the Local Group Policy Editor opens, expand the folder tree on the left side of the window in Computer Configuration> Administrative Templates> Windows Components> Widgets.
- With Widgets selected in the left pane, double-click Allow Widgets from the policy list in the right pane.
- Select Unconfigured in the top left option and click the OK button to save your changes.
- Restart your PC for Group Policy to take effect.
After changing the group policy and restarting the PC, open the widget and check if the information is displayed normally.
Method 9: Uninstall the third party app
There may be cases where the widget does not display properly due to a third party app such as EdgeDeflector that affects the behavior of the widget.
So, if you have a third-party app related to the widget installed, uninstall it and see if the problem goes away. Follow the steps below to uninstall the app.
- Click “Windows Mark” and select “Settings“.
- Click “Apps” in the left pane.
- Click “Apps and Features” in the right pane.
- From the list of apps, click “Menu (3-point icon)” in “Third-party apps related to widgets” and select “Uninstall“.
- Click “Uninstall” when the confirmation message is displayed.
After uninstalling the third party app related to the widget, please check if the widget is displayed normally.